
Twas a couple weeks before my Brother's birthday, and he wasn't saying what kind of cake he wanted... so the creative license was handed over to Mom and me. After looking around on Pinterest and other places Mom came across this recipe on Facebook. We decided to do this recipe, we just changed a couple things.
We decided the cake layer would be french vanilla (instead of chocolate) because we thought that would go better with the cheesecake. We also used 2 tsp of amaretto in place of vanilla. For the frosting we mixed one can of pre-made cream cheese frosting with half of Mom's regular white frosting, that way the frosting wasn't as dense as the pre-made frosting usually is, but it would still have a nice cream cheese flavor. We also gave the finished cake a light dusting of powered sugar.
 |
| Greased and Parchment lined spring-from pan |
Preparation
We used spring-form pans for both the cake and the cheesecake. We cut parchment paper to fit the bottom of the pans. Then I greased it with shortening half way up the side, and on the bottom. next, the parchment paper was placed in the pan. Also, a brownie pan with hot water is placed on the bottom rack (to keep the cheesecake from cracking).
 |
| Cake batter |
 |
| Cake |
The Cake
1 box of french vanilla cake mix. We made it according to the instructions and then poured all of it into one of the spring form pans and then baked according to the box.
 |
| Cheesecake batter |
 |
| Cheesecake |
The cheesecake
The oven was set to 325 degrees. For the cheesecake, use two 8-ounce cream cheese packages at room temperature, 1/2 cup of white sugar, pinch of salt, 2 eggs at room temperature, 1/3 cup of sour cream, 2 tsp of amaretto or 1 tsp of vanilla (your choice) and one can of cherry pie filling. First, beat the cream cheese until it's workable, which is about 2 minutes. Next, add the sugar and salt, letting it mix for another minute. After that, add the eggs one at a time. Then, add the amaretto and sour cream and mix until smooth.
Next step: pour the batter into the spring form pan and open the cherry filling can. Then, using a fork, pick cherries from the can and scatter them in the cheesecake. It's easier if you put all the cherries in first and then use a knife to swirl them into the cheesecake. Bake for 45 minutes.

Avengers assemble!
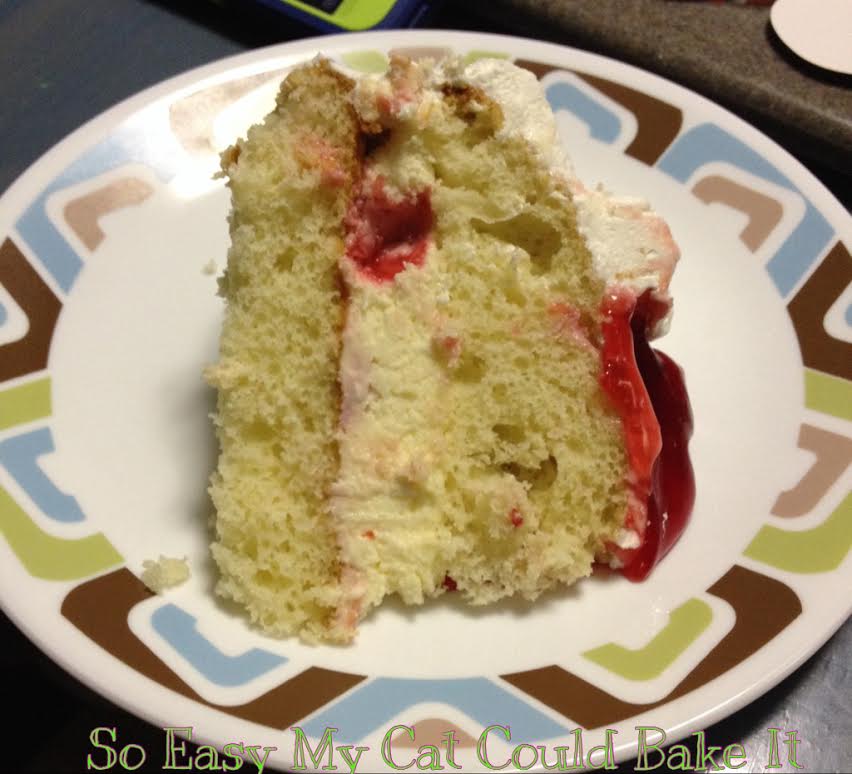
After both cakes have cooled, the cake assembly is next! The first step is to cut around the edge of the pan so that the cakes don't rip when you release the spring. Then once you've released the spring, slice the cake into two layers. Put the bottom layer on the plate, then stack the cheesecake layer on top of the cake layer, and finally the last cake layer on top of it all.

My thoughts...
This was so awesome! It was perfectly balanced... it wasn't too sweet at all. This reminded me of an ice cream cake. 5 out of 5!
Such a fun version. I'll have to try it with white cake some time. I bet it highlights the cherries even more.
ReplyDelete