
Showing posts with label bread. Show all posts
Showing posts with label bread. Show all posts
Friday, February 24, 2017

Monday, October 31, 2016
Bread Talk
Practically all the things that I bake, I love! I love the way they taste, I love the process involved in making them, and you really can't wrong with the smell either.

But, bread? Man!! Don't get me wrong, I have a mad sweet tooth and I love making sweets, but, bread holds a special place in my heart. I love how involved in the process you have to be. I love (ok, I hate it sometimes) how one single thing can change the way a loaf will turn out. I love how it's so simple, yet so complex. Also, I'm pretty sure I love it because it's an excuse to get a whole section of the kitchen counter messy. :-)
I have no clue why I decided to go on a bread speech. Aw well. I needed something to write about.

Wednesday, October 19, 2016
Sourdough
I'm rather pleased that I can add Sourdough to the list of breads that I can make!
Sourdough is one of those breads where it's a process. You have to be involved and take it step by step. It's also one of those breads where it takes an attempt or two to get it just so.
My first attempt missed the mark a little bit. It didn't smell quite right and it didn't rise very much, which lead it to be dense. I thought I knew dense before this loaf, but oh no! This loaf was so dense my brother really, really wanted to use it as a target for shooting. Pretty sure he still wishes we did...
Anyway. The results of attempt 1 were only fuel to my fire. So, the next day, I looked at more recipes and I found one. Before I found it, I was wondering if you could use a regular bread recipe and add some of the Starter to it for flavor. The recipe I found did just that. I used the recipe. It was magic bananas! The classic sourdough smell was there, it rose, and it looked gorgeous. But as good as it looked and smelled, it tasted even better!
So, the next time I make Sourdough, I'm going to use my go-to bread recipe with some of the sourdough starter. And then I'll post an official So Easy My Cat Could Bake It Sourdough recipe.
For now, you'll have to wait!
Sourdough is one of those breads where it's a process. You have to be involved and take it step by step. It's also one of those breads where it takes an attempt or two to get it just so.
 |
| attempt #1 |
 |
| The frisbees |
Anyway. The results of attempt 1 were only fuel to my fire. So, the next day, I looked at more recipes and I found one. Before I found it, I was wondering if you could use a regular bread recipe and add some of the Starter to it for flavor. The recipe I found did just that. I used the recipe. It was magic bananas! The classic sourdough smell was there, it rose, and it looked gorgeous. But as good as it looked and smelled, it tasted even better!
 |
| Attempt #2 |
So, the next time I make Sourdough, I'm going to use my go-to bread recipe with some of the sourdough starter. And then I'll post an official So Easy My Cat Could Bake It Sourdough recipe.
For now, you'll have to wait!
Sunday, September 21, 2014
Crusty Flat-bread

Looking for a flat-bread recipe was interesting and challenging mainly because most of the results on Pinterest that came up didn't look like flat-bread. They looked more like tortillas and pitas, which I suppose, are flat-breads. But not what I was looking for. And then my Mom found this recipe. It turns out that I should have searched for "Crusty Flat-bread"
For this recipe you will need:
- 11/2 cups warm water
- 11/2 teaspoon yeast
- 1 packed cup of cooked mashed potato
- 1/4 cup olive oil
- 2 teaspoons salt
- 41/2 cups flour
- 1 to 2 teaspoons olive oil
- 2 teaspoon fresh rosemary
- 1/2 teaspoon salt

In a separate bowl, combine the mashed potatoes and olive oil together. Then add the flour and salt. Next, you add the water/yeast mixture and combine it all together until its just starting to come off of the sides of the bowl.

The next step is to turn the dough onto a floured counter, and knead it about 30 times with lightly oiled hands. Once you've done that, place the dough in a lightly oiled bowl to let it rise. You want to let it rise is a safe place, a cool oven is a good place - just make sure that you advise everyone that your dough is in there so they don't accidentally turn on the oven and bake your dough. This dough needs to rise for 3-4 hours.

After it has risen, you want to divide it in half.

The next step is to shape each half into a ball.

Once that is done, the next step is to flatten out the dough on a cookie sheet, press dimples into it and lightly oil it.

This bakes at 425° Fahrenheit, for 25 minutes or until golden. When the flat-bread is done, it should sound hollow when you tap on it.
This flat-bread was delicious! It was good by itself and it was good as the bread for a sandwich. I am going to try this recipe again sometime, but I am not going to flatten it out so much because cutting the flat-bread in half, proved to be difficult, since it was so thin.


Mom found the recipe here.
Friday, April 4, 2014
Meatball Subs (French Bread Pt.3)


I did everything like the recipe, up until the shaping part. Instead of dividing the dough into to two, I divided it into four.


After they had a chance to rise again, I cut the slashes on the top. And then put them in the oven preheated to 450°F for 20 to 25 minutes.

Once again the way to tell when they are done is to check the bottom. Keep in mind that the longer they're in, the harder they're going to be.

Wednesday, February 26, 2014
Homemade Calzones (French Bread Part. 2)
Forget about pizza, bread sticks and bread... everyone talks about those a lot. What about Calzones? In my opinion calzones are the best of the best, they are like a pizza burrito!

We used the FrenchBread recipe for the crust and made two batches. We made the bread like it says, except after the dough was made and put in the bowl, we just left it in the cool oven until we were ready to make the calzones.... yup, we left it where it was safest, away from dog and cat hair.


Monday, February 17, 2014
French Bread

The recipe I found called it french bread, and boy was it good!
This
bread was not only delicious, but it smelled fantastic... which is a sure
sign it's a good bread recipe! Seriously, if I could capture the smell
and put it here, I definitely would!

I combined the warm water, sugar and yeast in a measuring cup to test if the yeast was alive. The water absolutely has to be warm, it can't be too hot or too cold, because it will kill the yeast. The reason the sugar is mixed in with this mixture is because it helps the yeast.
 |
| Dough with the paddle attachment |
 |
| Dough with the dough hook. |

Next, knead it a couple times, until it can be formed into a nice compact ball. The recipe said to use as much flour as you need to knead into the dough to make it nice and compact, but I honestly didn't use that much.

 |
| Look at it! It rose! |


Now put these back in the oven that's off, or a safe place, for 30 minutes, or until you are almost ready to bake them.


The way to tell if they are done is to look at the bottoms. If the bottoms are nice and golden too, they are ready for consumption.

Next time I would...
The next time will probably be in spring, because Mom had a cool idea of adding a little rosemary into the dough. I mean can you imagine that? That would smell amazing.

Yum! This was fantastic! It was good with butter, by itself, and it was good with my brothers idea: a little olive oil, salt and pepper in a bowl and dip the bread in that:) Definitely 5 out of 5 whiskers!
Adapted from this recipe
Friday, December 27, 2013
Bread Sticks


I was watching the cooking channel, and I saw the way they activated the yeast. It was different from the way I did it, so I think I activated it wrong... thus the reason it didn't rise. This recipe was sort of a spur of the moment recipe, so the next time I try this recipe I will watch some videos on activating yeast, and bread stick dough.
 |
| Before the oven |
They still turned out alright, but they were just a bit dense... Not fluffy.
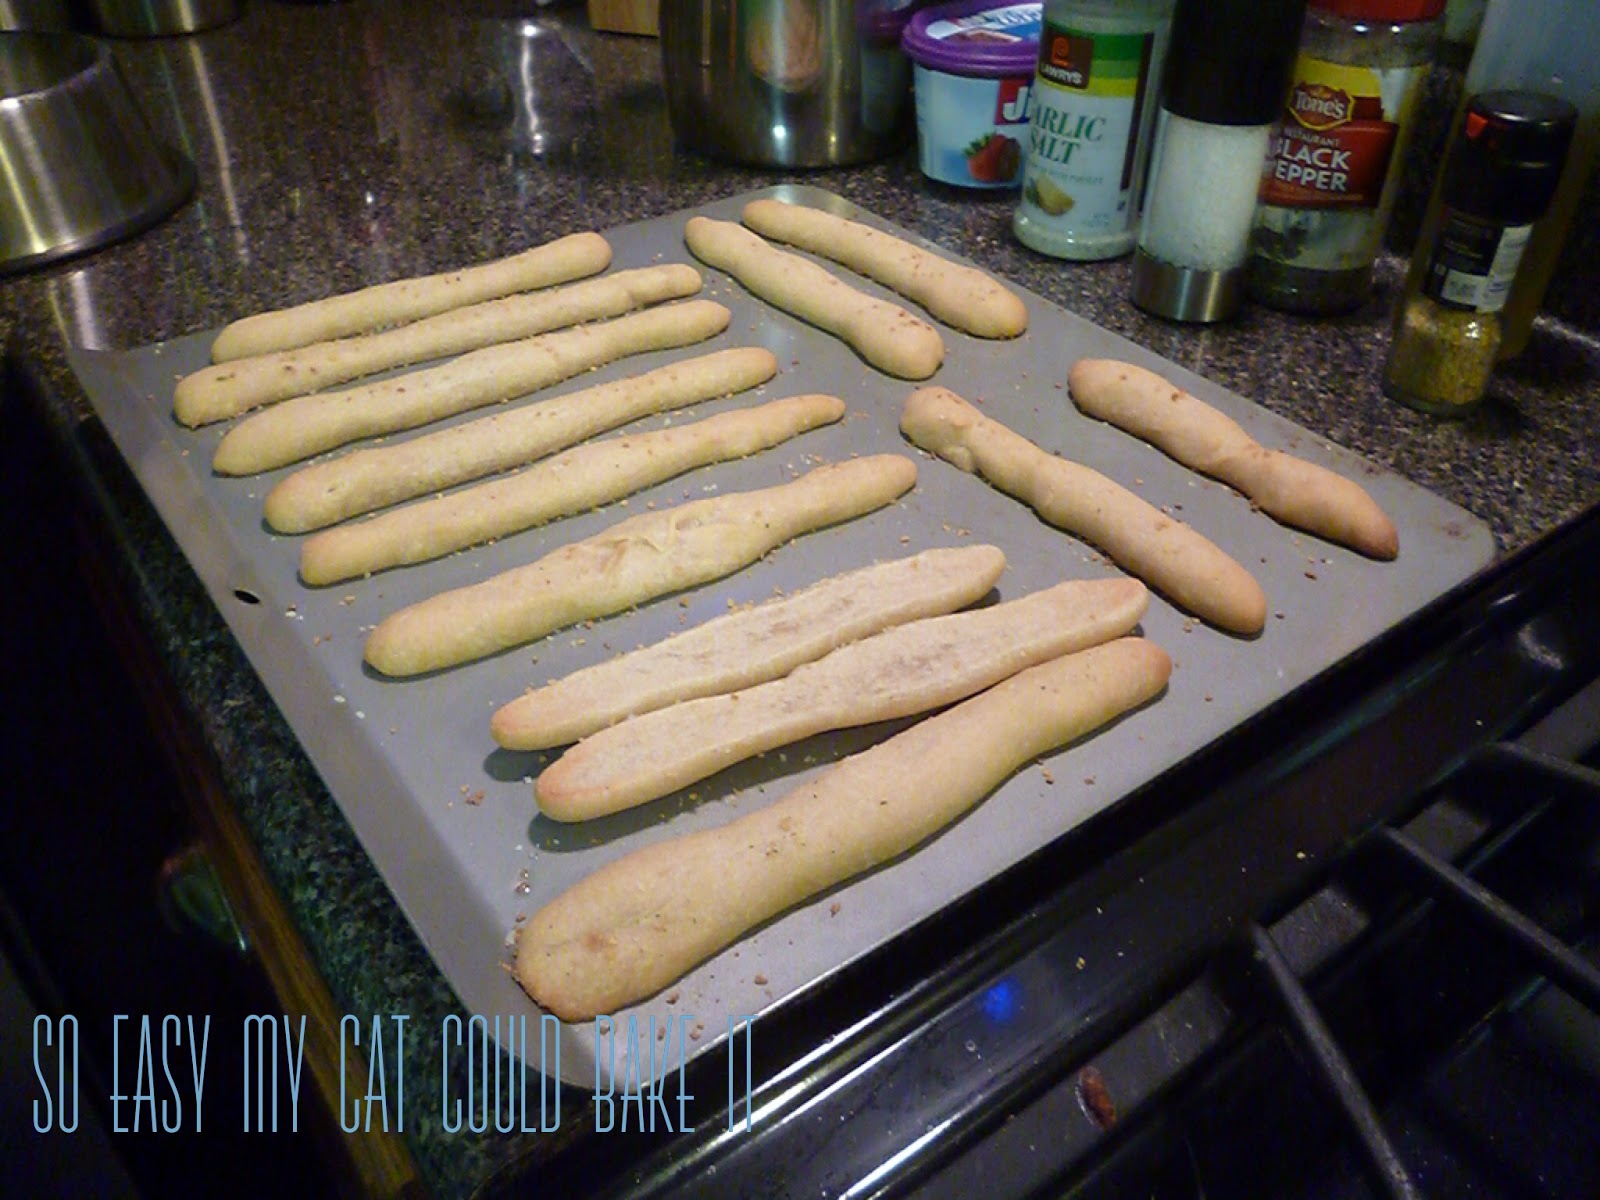 |
| After the oven |

But you know what, They still taste good... And that's what matters, right?


Friday, October 4, 2013
Apple Cranberry Pumpkin Bread and Chocolate Chip Pumpkin Bread

A couple of weeks after making the Cranberry Pumpkin Bread, my brother and I experimented with the recipe by adding different things instead of the dried cranberries. We came up with two very tasty results.
The first one is... Chocolate Chip Pumpkin Bread!

Have you ever had a Spice Cookie? Because that is what this combo reminds me of. And let me just add that you get a chocolate chip in just about every single bite, which I think is how you know you've put the perfect amount of chocolate chips in your batter. Another awesome thing about the chocolate chips is, when they came out of the oven and cooled I don't think that the chocolate chips completely re-hardened which made it messy, but so tasty!

The other combo is... Apple Cranberry Pumpkin Bread!

This combination was more like the Cranberry Pumpkin Bread... Just with the added kick from the apples. I have to say that this one was my favorite out of the two, which is a little odd for me because I usually go for anything that is sweet and has chocolate. Two things to note with this combo... 1) my mom recommends Granny Smith apples for this because they are tart rather than sweet...which should kick it up a notch! and 2) the Apple Cranberry Pumpkin Bread had to bake longer than the Chocolate Chip Pumpkin Bread due to the moisture that the baking apples pieces added.

Both of these combos were awesome! I think these were 4 and a half stars. Soon I will post the recipe and I will be sure to include the measurements of the substitutions.
Subscribe to:
Posts (Atom)